![\begin{figure}
\par\includegraphics[width=7.5cm,clip]{6320fig1.eps}\end{figure}](/articles/aa/full/2007/23/aa6320-06/img50.gif) |
Figure 1: Example of an OM image. This rich field (XEST-11, toward FS Tau) shows artefacts, such as the "ring'' of emission at the center (due to the reflection of diffuse sky light from outside the FOV), fixed pattern noise around the bright source XEST-11-OM-133 (HD 283579, which is not classified as a TMC member), and a ghost ring below source XEST-11-OM-147 which is also caused by XEST-11-OM-133. Other artefacts can be seen (trail along the bright source, defects on the detector). |
| Open with DEXTER | |
In the text
![\begin{figure}
\par\includegraphics[width=8.5cm,clip]{6320fig2.eps}\end{figure}](/articles/aa/full/2007/23/aa6320-06/img167.gif) |
Figure 2:
X-ray luminosity ( |
| Open with DEXTER | |
In the text
![\begin{figure}
\par\includegraphics[width=8.5cm,clip]{6320fig3.eps}\end{figure}](/articles/aa/full/2007/23/aa6320-06/img168.gif) |
Figure 3: Cumulative distributions of X-ray count rates of type 2 and 3 stars. |
| Open with DEXTER | |
In the text
![\begin{figure}
\par\includegraphics[width=8cm,clip]{6320fig4.eps}\end{figure}](/articles/aa/full/2007/23/aa6320-06/img169.gif) |
Figure 4: Histogram of OM U magnitudes for type 2 and 3 stars. |
| Open with DEXTER | |
In the text
![\begin{figure}
\par\includegraphics[width=8cm,clip]{6320fig5.eps}\end{figure}](/articles/aa/full/2007/23/aa6320-06/img170.gif) |
Figure 5: Cumulative distributions of stellar luminosity of type 2 and 3 objects detected in the U filter. |
| Open with DEXTER | |
In the text
![\begin{figure}
\par\includegraphics[width=8cm,clip]{6320fig6.eps}\end{figure}](/articles/aa/full/2007/23/aa6320-06/img173.gif) |
Figure 6:
Cumulative distributions of U-band OM magnitudes after correction for extinction. Type 2 stars have brighter OM magnitudes than type 3 stars. Stars with known
|
| Open with DEXTER | |
In the text
![\begin{figure}
\par\includegraphics[width=8cm,clip]{6320fig7a.eps}\includegraphics[width=8cm,clip]{6320fig7b.eps}\end{figure}](/articles/aa/full/2007/23/aa6320-06/img174.gif) |
Figure 7: Normalized distributions of U-band excesses for type 2 and 3 stars. Excesses determined when AJ was used to calculate AU are shown in the left figure, whereas excesses determined with AV used are shown in the right figure. |
| Open with DEXTER | |
In the text
![\begin{figure}
\par\includegraphics[width=16.5cm,clip]{6320fig8.eps}\end{figure}](/articles/aa/full/2007/23/aa6320-06/img175.gif) |
Figure 8: The TMC sample of stars with OM FAST mode data. The upper curve in each panel is the OM light curve ( right y-axis), whereas the lower curve is the X-ray light curve ( left y-axis). The OM light curves were rebinned to bin sizes of 200 s, except for CIDA 7, which required a bin size of 400 s. The type of the source is given together with the source name. The OM FAST data of IT Tau and UZ Tau EW are not shown since the sources were not properly placed on the small OM FAST window, and thus the light curves were unreliable. In addition, the T Tau OM FAST light curve is the subject of a separate paper and will be presented elsewhere (Güdel et al. 2007c). Note that small manual corrections were necessary for DN Tau, DI Tau AB, and BP Tau (see footnote 5). |
| Open with DEXTER | |
In the text
![\begin{figure}
\par\includegraphics[width=7cm,clip]{6320fig9.eps}\end{figure}](/articles/aa/full/2007/23/aa6320-06/img180.gif) |
Figure 9:
Details of the GK Tau OM and X-ray light curves. The OM light curve (top curve) was rebinned to a bin size of 200 s, while the X-ray light curve (bottom histogram) used a 400 s bin size. The thick dashed line corresponds to the OM light curve convolved through a kernel
|
| Open with DEXTER | |
In the text
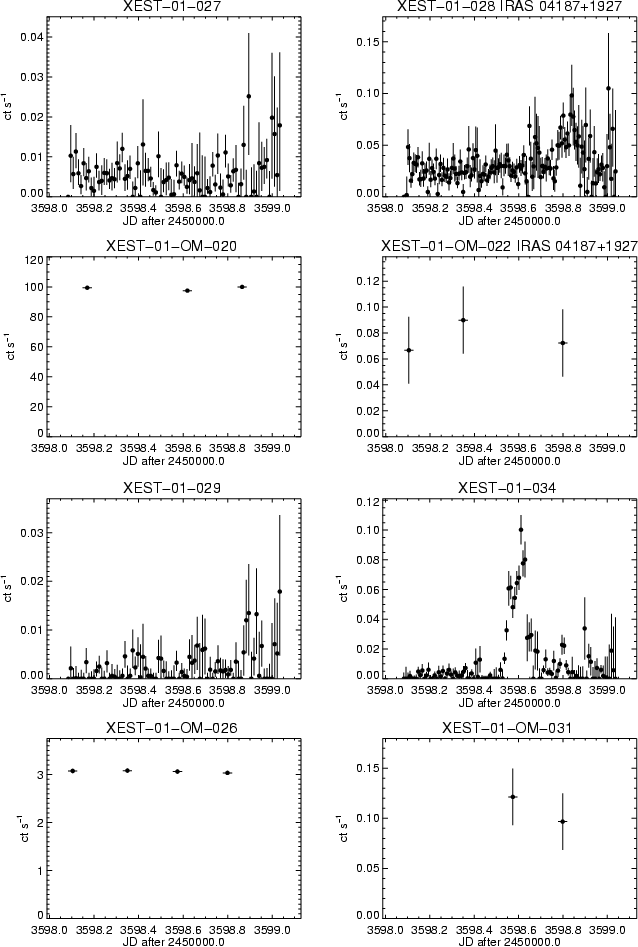 |
Figure B.1: Light curves. |
In the text
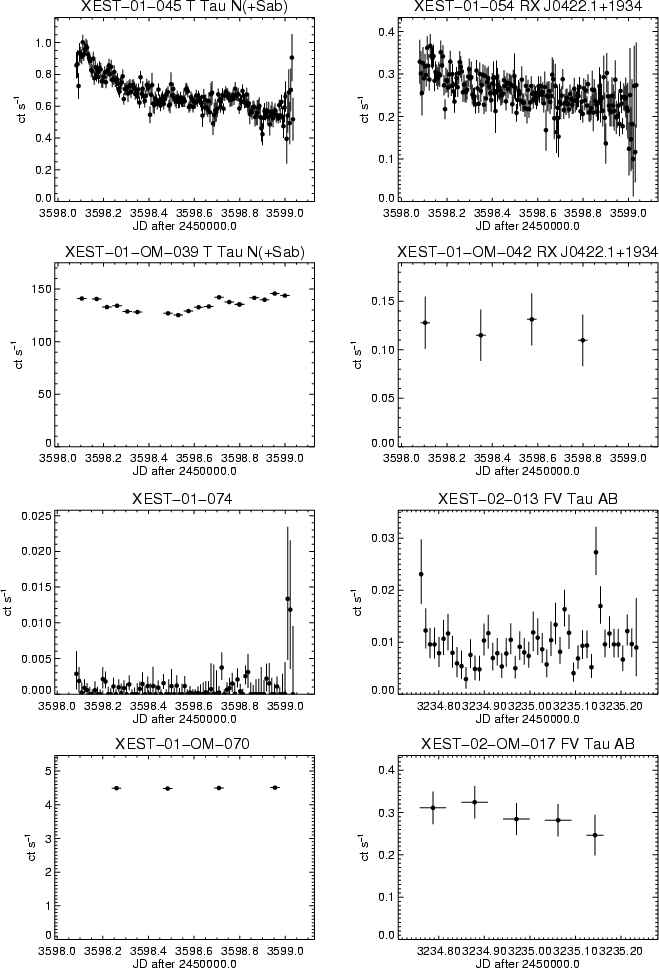 |
Figure B.1: continued. |
In the text
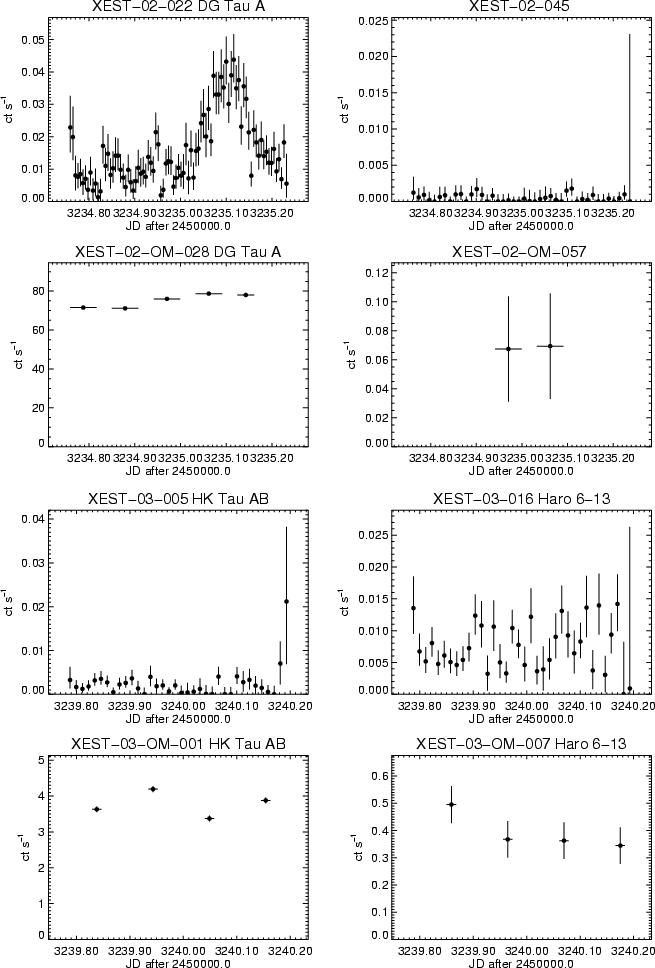 |
Figure B.1: continued. |
In the text
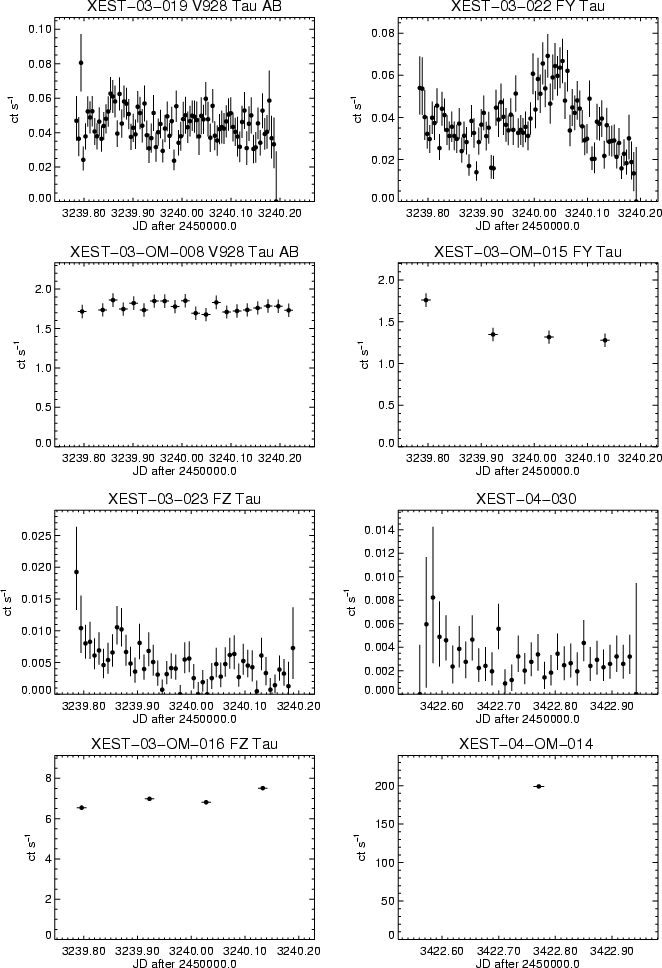 |
Figure B.1: continued. |
In the text
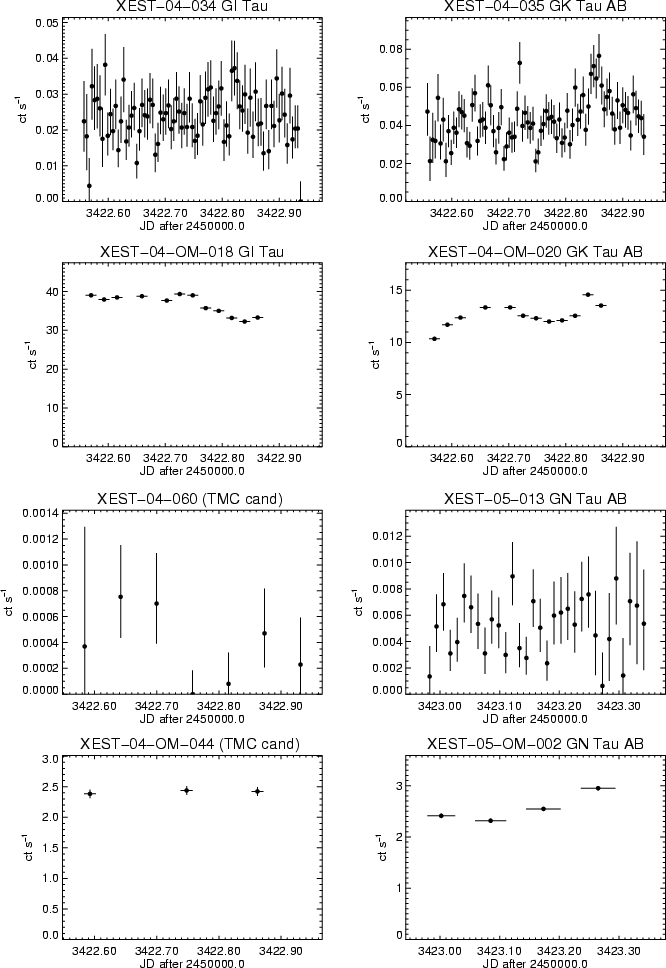 |
Figure B.1: continued. |
In the text
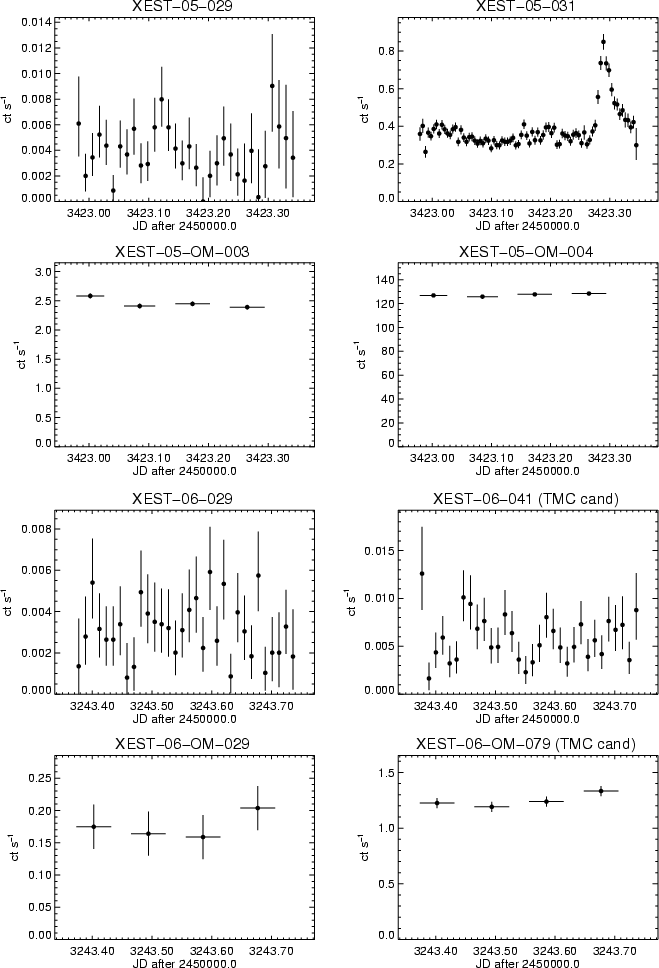 |
Figure B.1: continued. |
In the text
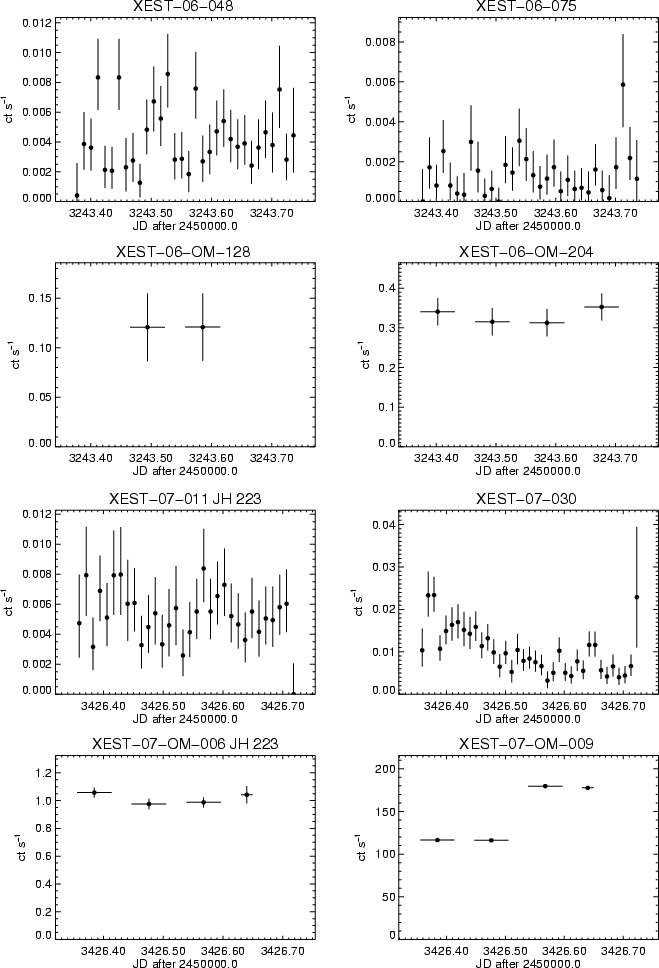 |
Figure B.1: continued. |
In the text
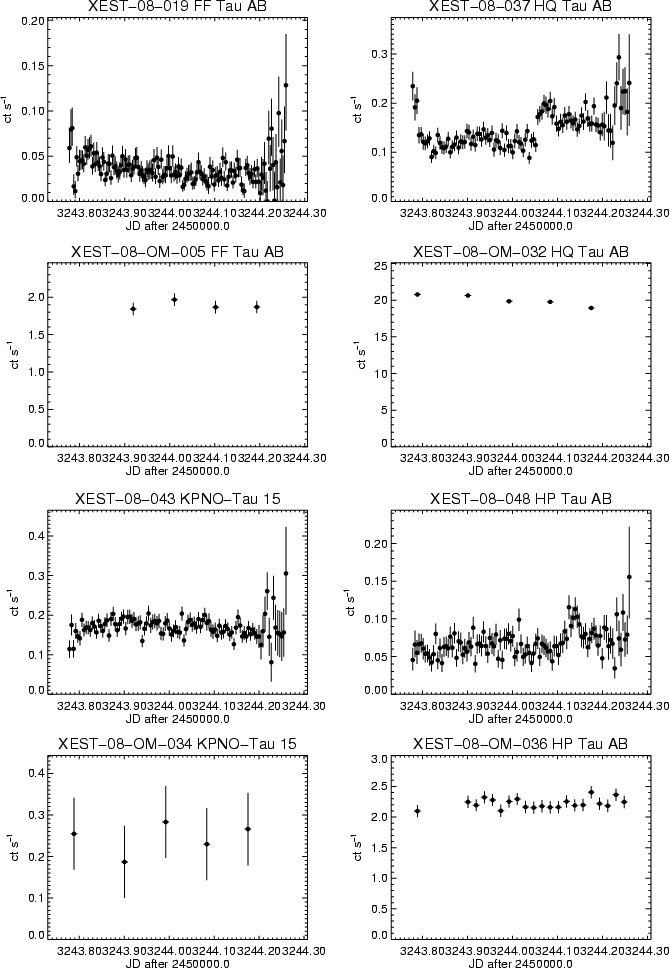 |
Figure B.1: continued. |
In the text
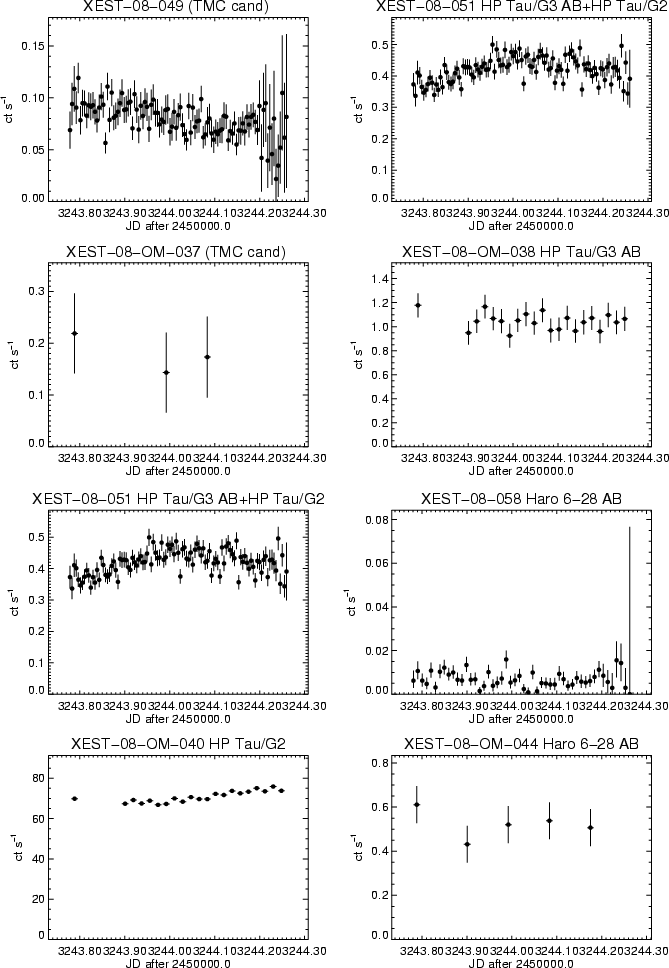 |
Figure B.1: continued. |
In the text
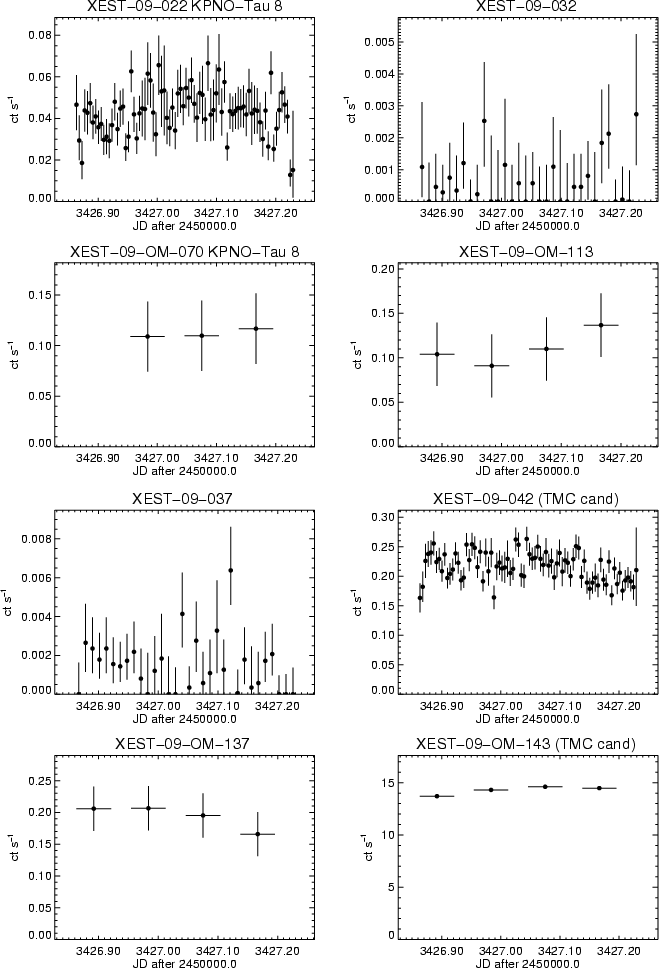 |
Figure B.1: continued. |
In the text
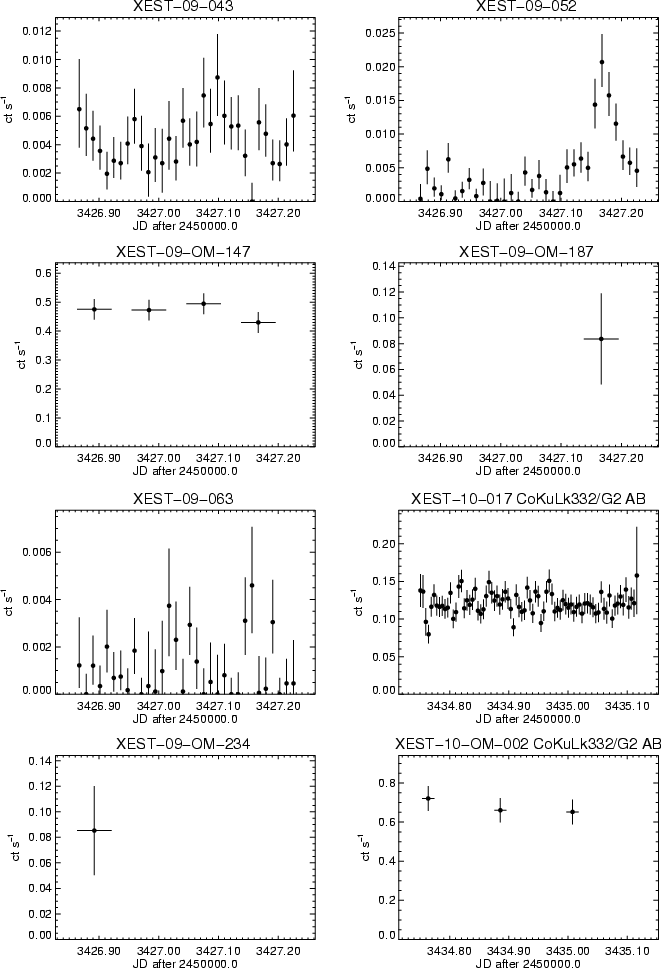 |
Figure B.1: continued. |
In the text
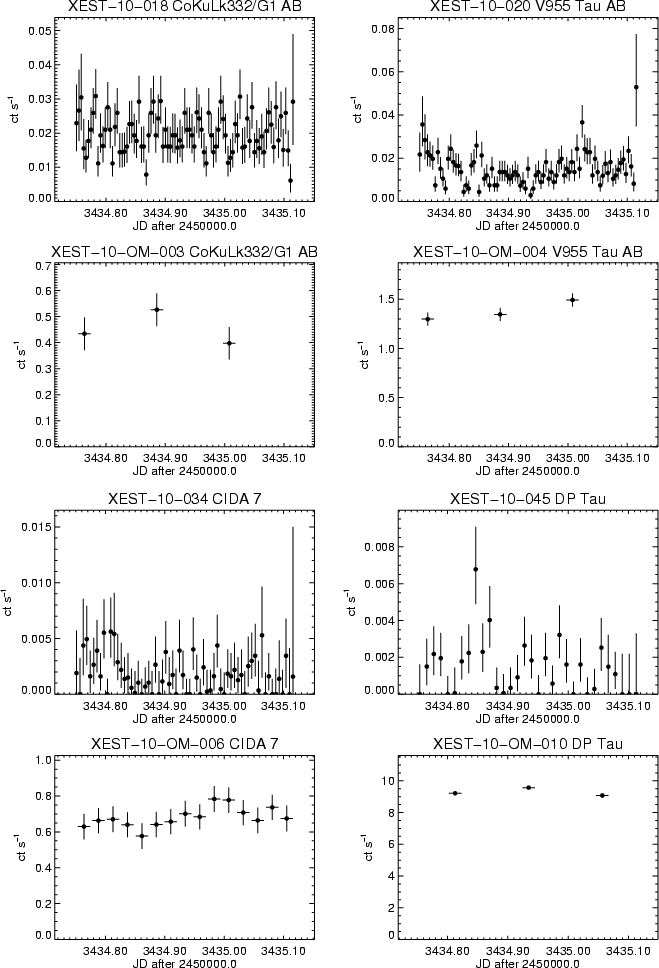 |
Figure B.1: continued. |
In the text
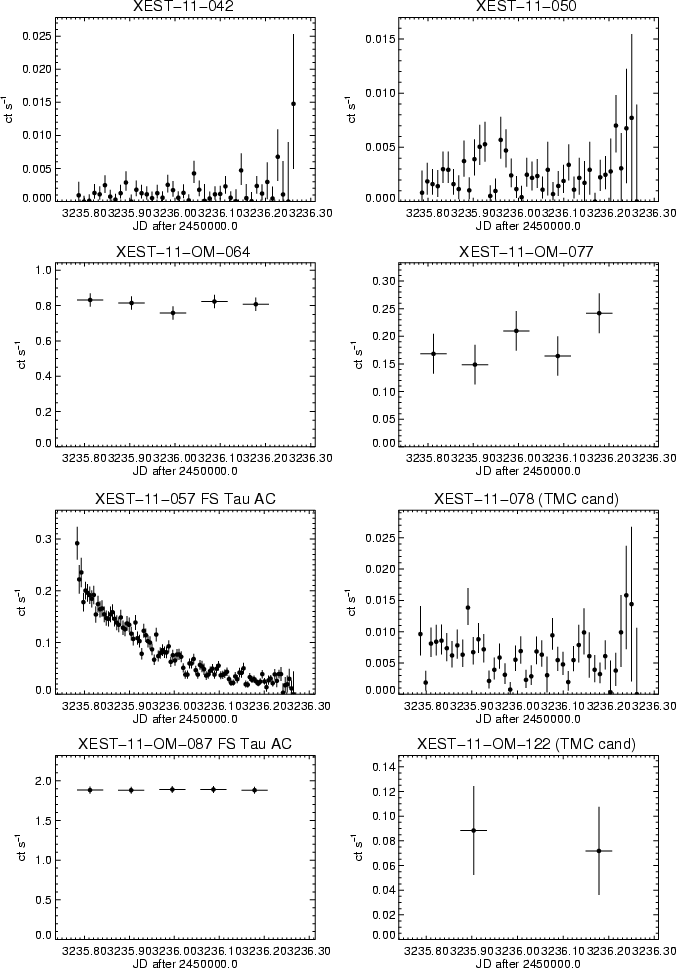 |
Figure B.1: continued. |
In the text
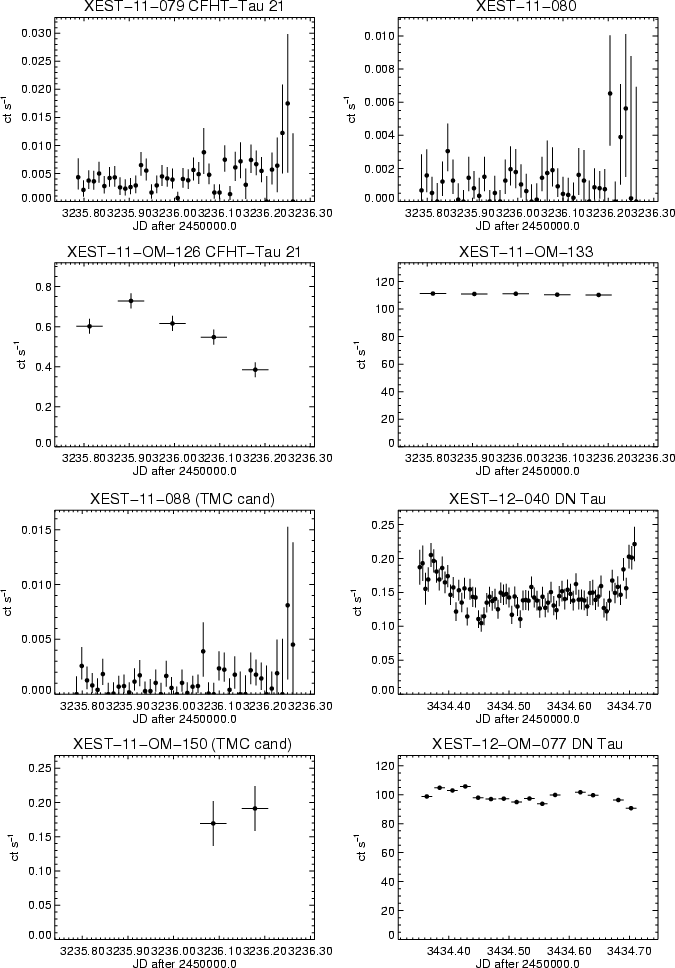 |
Figure B.1: continued. |
In the text
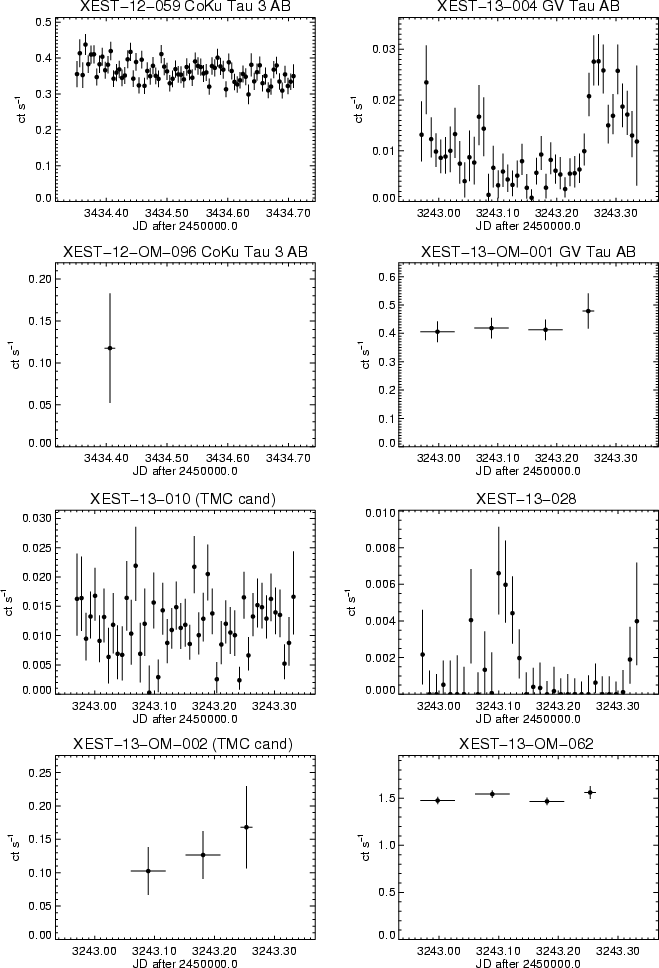 |
Figure B.1: continued. |
In the text
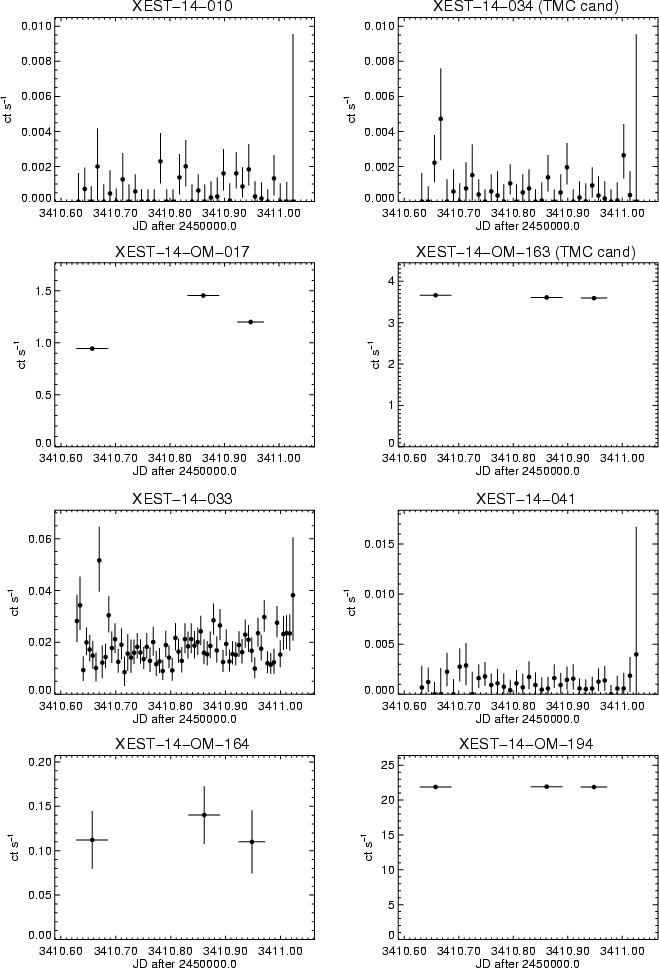 |
Figure B.1: continued. |
In the text
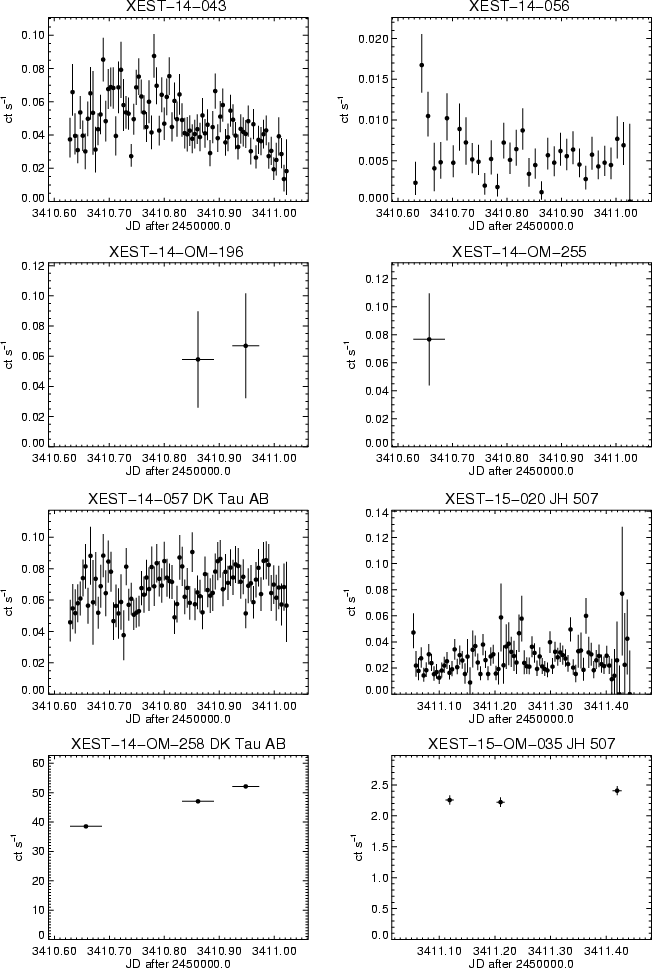 |
Figure B.1: continued. |
In the text
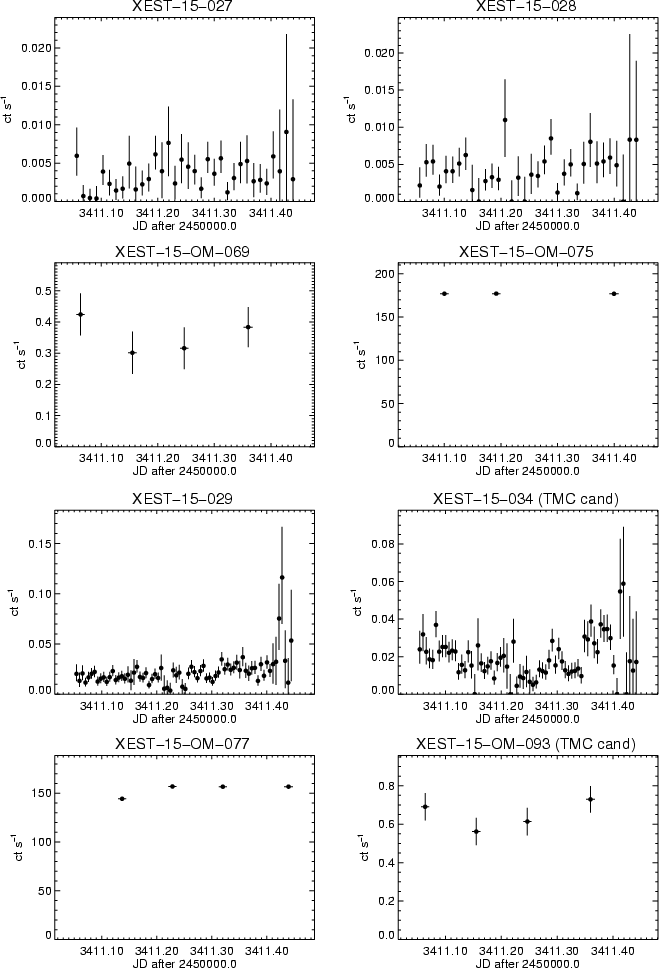 |
Figure B.1: continued. |
In the text
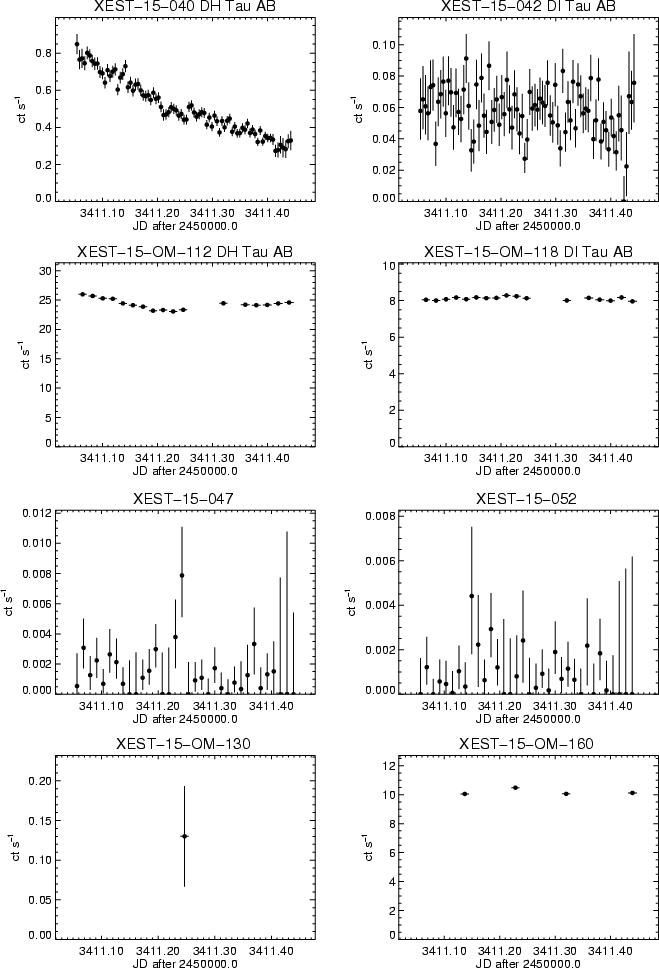 |
Figure B.1: continued. |
In the text
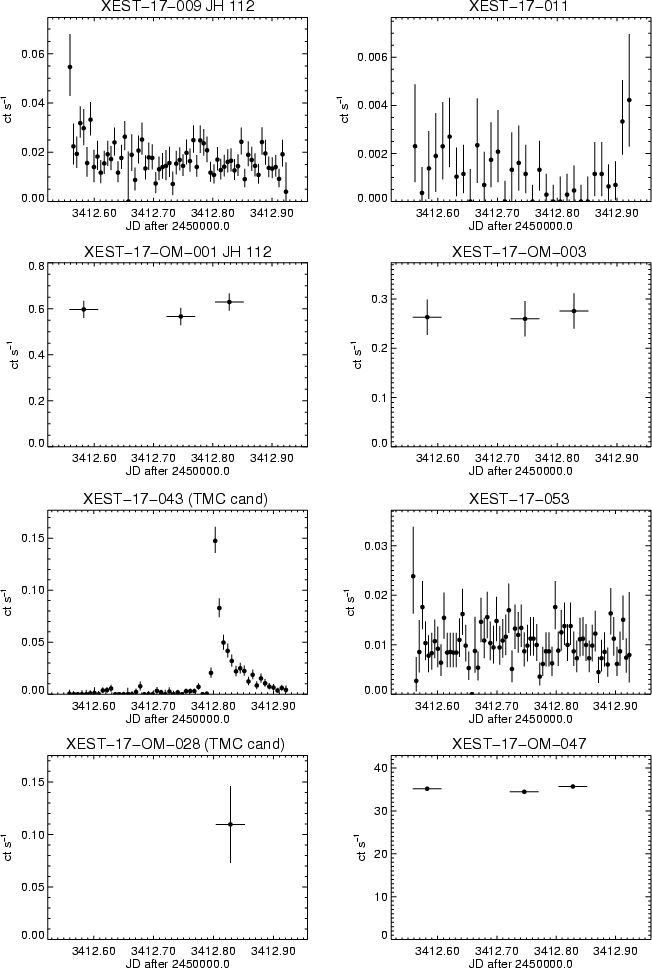 |
Figure B.1: continued. |
In the text
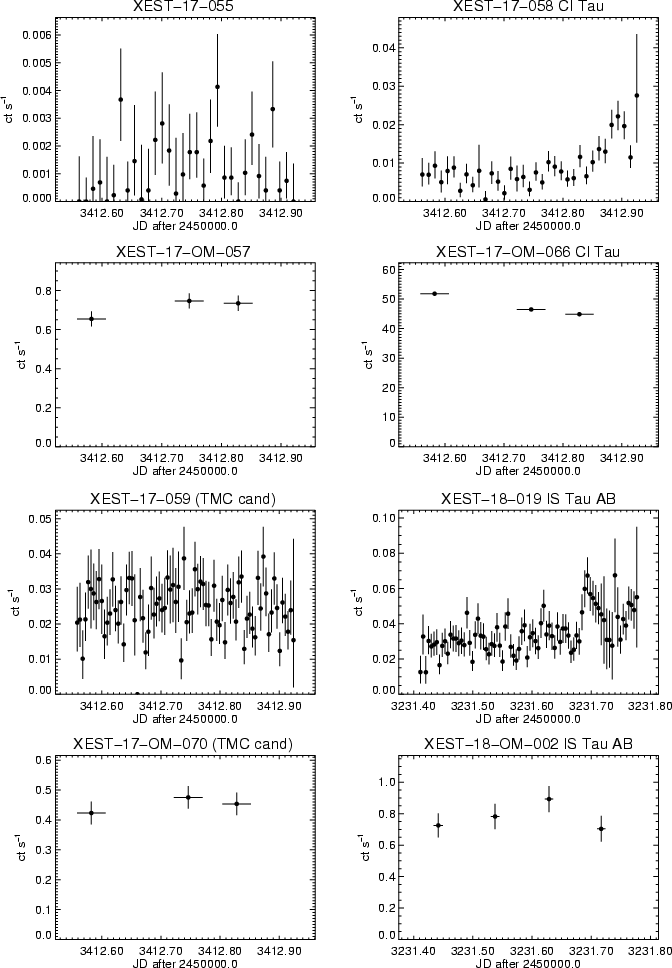 |
Figure B.1: continued. |
In the text
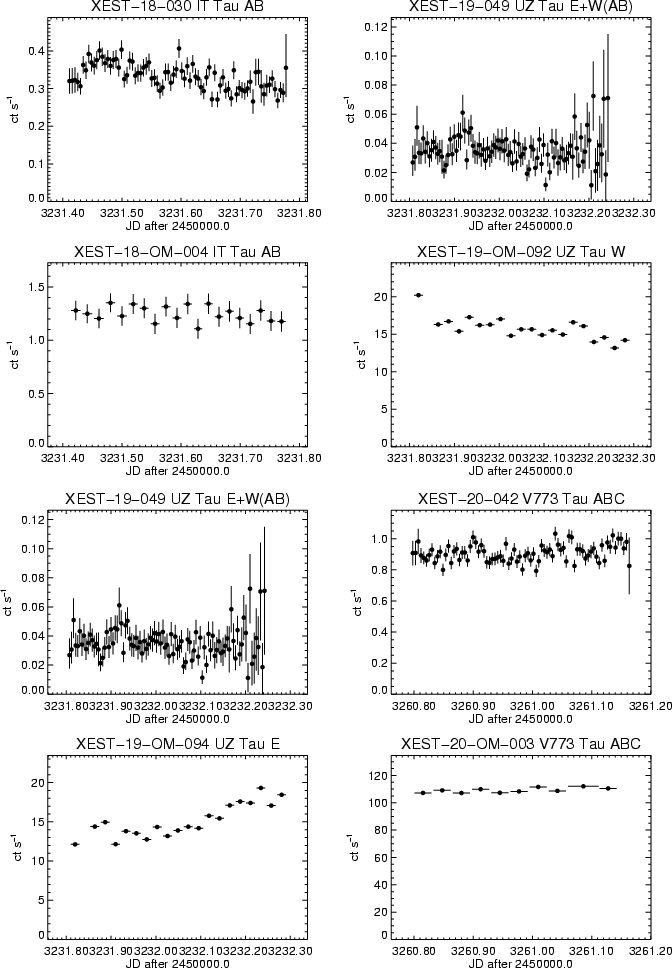 |
Figure B.1: continued. |
In the text
 |
Figure B.1: continued. |
In the text
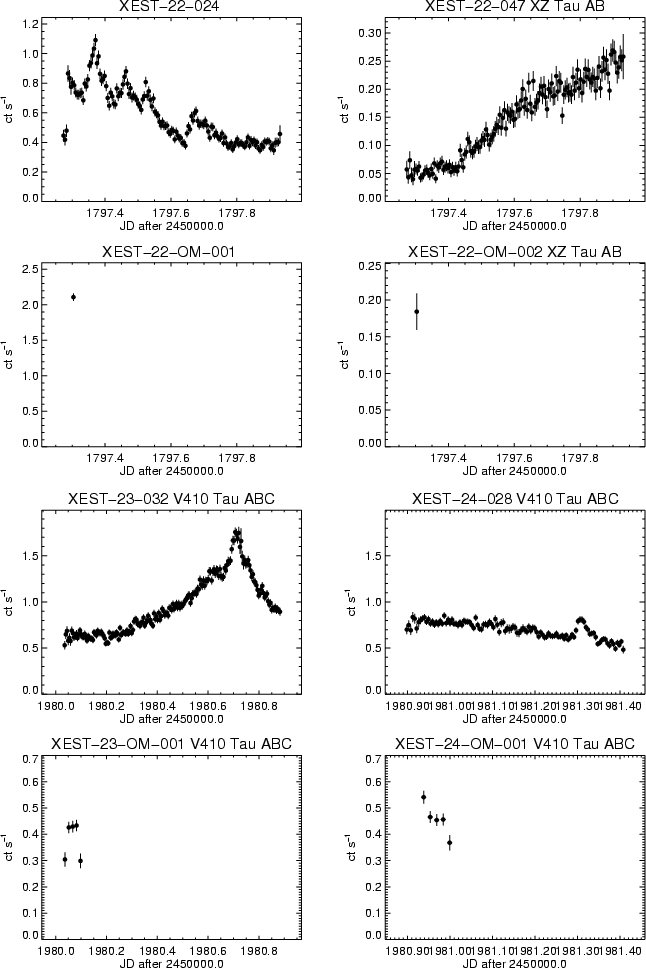 |
Figure B.1: continued. |
In the text
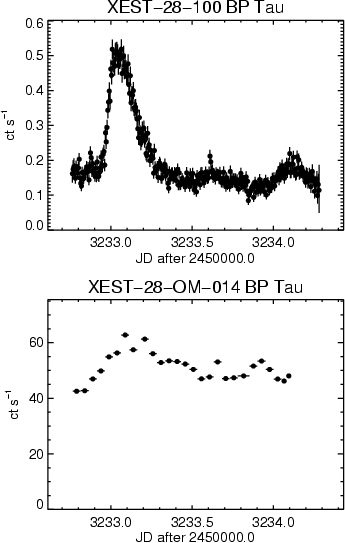 |
Figure B.1: continued. |
In the text